Tuesday, January 27, 2015

Sweet Tonic Smoothie {Berrys&Fruits}


Winter is always a cold season when we get sick easily and when we hide under our cozy, warm blankets. Sitting at our desks while watching TV series and drinking hot chocolate or tea applies to all of us, right? So why don't we change up the game and try something different?
It's important to have a healthy and balanced diet, especially in winter, so that's why I mixed all the ingredients I had at my reach together and this is the (yummy!) result:
 

What You Need:
a palmful of raspberries
a palmful of redcurrant
3 pears (peeled)
1 banana
1 tbsp cherry compote
250ml orange Juice
a mixer

How to:
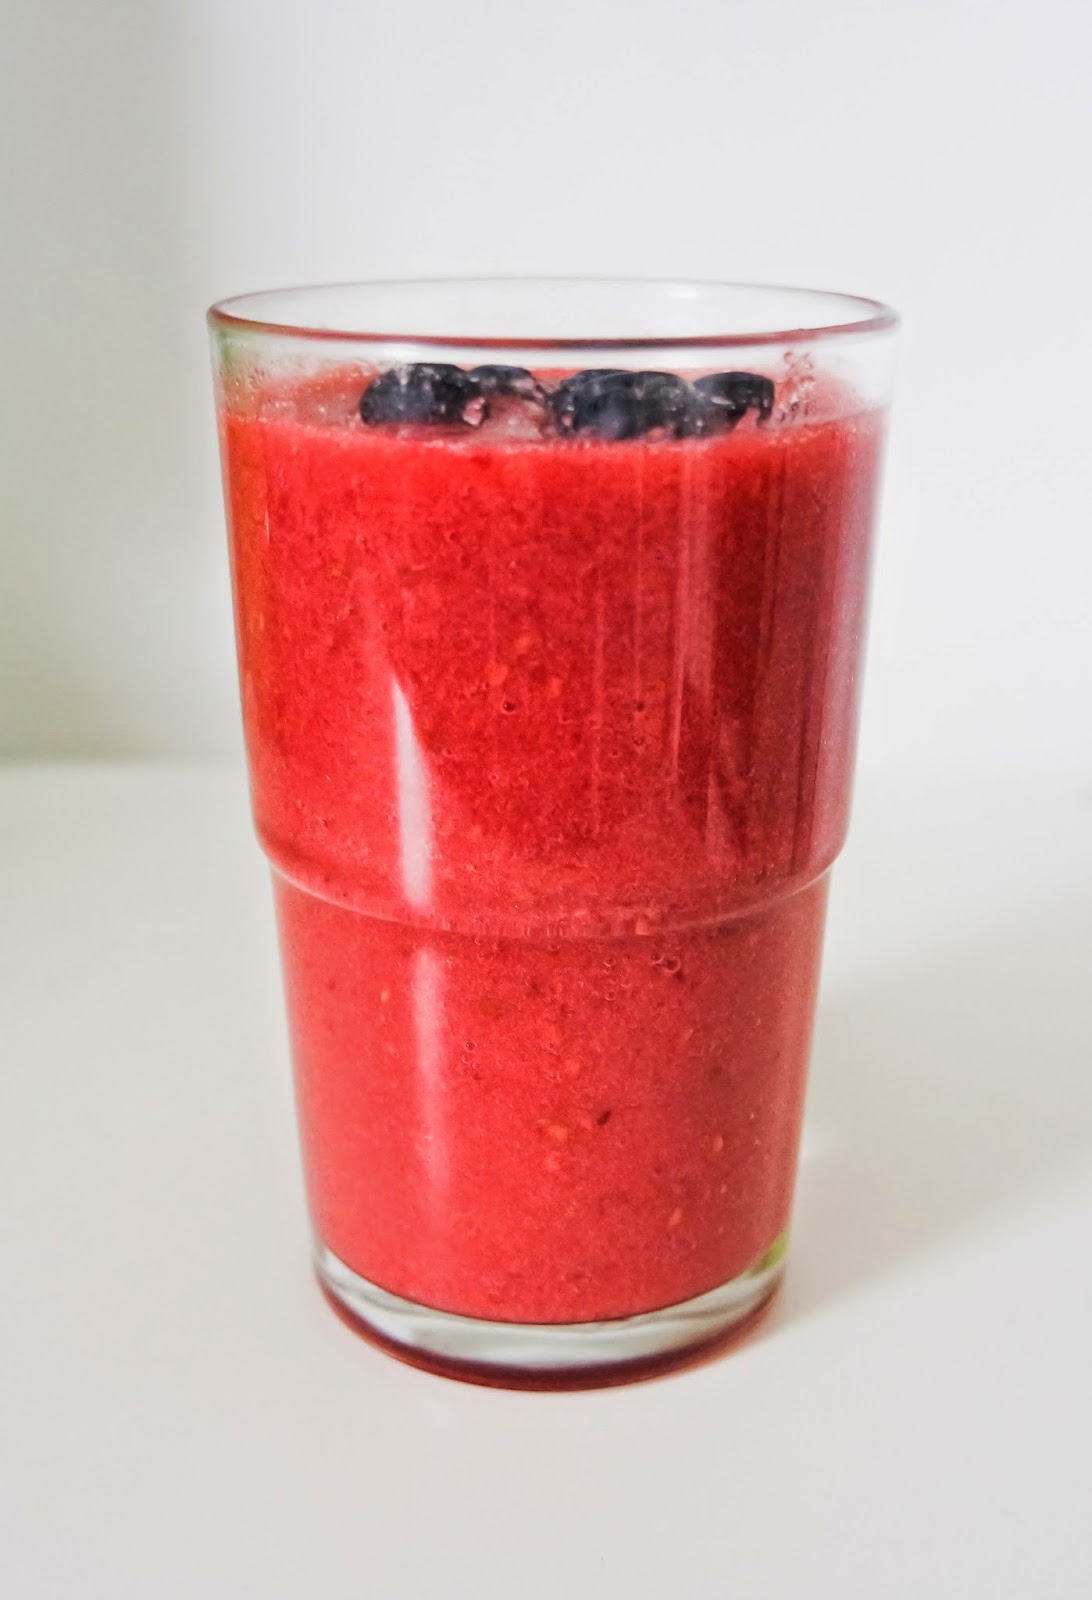
Blend all of the ingredients together. Afterwards, sieve the smoothie through a mesh to avoid having a mouth full of little pits. Top it off with some blueberries and you are good to go!


You can pour your smoothie into a bottle too and drink it while being in school or on the way to work. Since this smoothie is also very filling, you can just drink it when you are running late in the morning and don't have time to prepare a big breakfast.

What about it? Simply mix together what is left in your kitchen and experiment around!

Thursday, January 22, 2015

DIY: Pearl Bow Necklace


I love jewelry. I love wearing them and I love making them.
Have I already mentioned that I love them?

When I was a child, my father endowed me the best necklace - and my very first one. Since then, I adored everything that sparkles and glitters. My passion towards it grew big enough to make me want to craft jewelry myself. I've already made some creations for my friends who were willing to buy them and sometimes I would sit down and craft one as a birthday gift. So today, I will present you a piece of jewelry I created for one of my dear friends.


-Start by folding your wire in half and create a small loop by twisting it.
-Thread the pearls and the rhinestone.
-Continue to thread the pearls, then bend the wire and thread it through the other side of the rhinestone.
-Do the exact same thing to the other side, thread the wire through the rhinestone again, add the pearls and create another loop to prevent the pearls from slipping.
-Done!


I added a small section of rhinestones to either side of the bow and attached a chain. By making your bow smaller, you can wear it as a bracelet or as a brooch.
Happy DIYing!

Monday, January 05, 2015

Morse Code Bracelet


First of all: I wish you all a Happy New Year!

This post is going to be my first in 2015, so I thought I should do something more personal and of note. Lately, I've been obsessed with rare words and their meaning. Trying to embed a word in your craft has been hard, but I've come up with an idea. How about morse codes?

The word MERAKI is written in morse codes. It means: the soul, creativity, or love put into something; the essence of yourself that is put into your work.
 When I read this word for the first time, I knew that it would be the right one for 2015. It describes exactly what I feel and what I want to do for the coming months. Becoming more passionate about my blog, but also about school and my surroundings are one of my resolutions.


What you need:
wire
jewelry pliers
thread
sharpie

Step-by-Step:
Cut your wire (around 4" long).
Draw the morse codes on/around your wire.
Bend the wire and create small loops at the ends with your pliers.
Take two pieces of thread, pull them through the loops and tie a knot.
Finished.


  This DIY is soo easy and it only took me around 10 minutes to make!
I already look forward to seeing my friends question me what these black stripes and dots mean.

What would be your word of the year?