Hey there!
As I was flipping through a lifestyle magazine, my gaze was suddenly attracted to a door. It had a door plate! You may think 'OK, what's so cool about that?', but oh boy...I haven't seen a door plate since I was a child and almost none of my friends still have one. Door plates remind me of my childhood, when I - like every other child- wanted my name to be on everything I own. The door plate in the magazine looked so cute, I just had to make my own...:
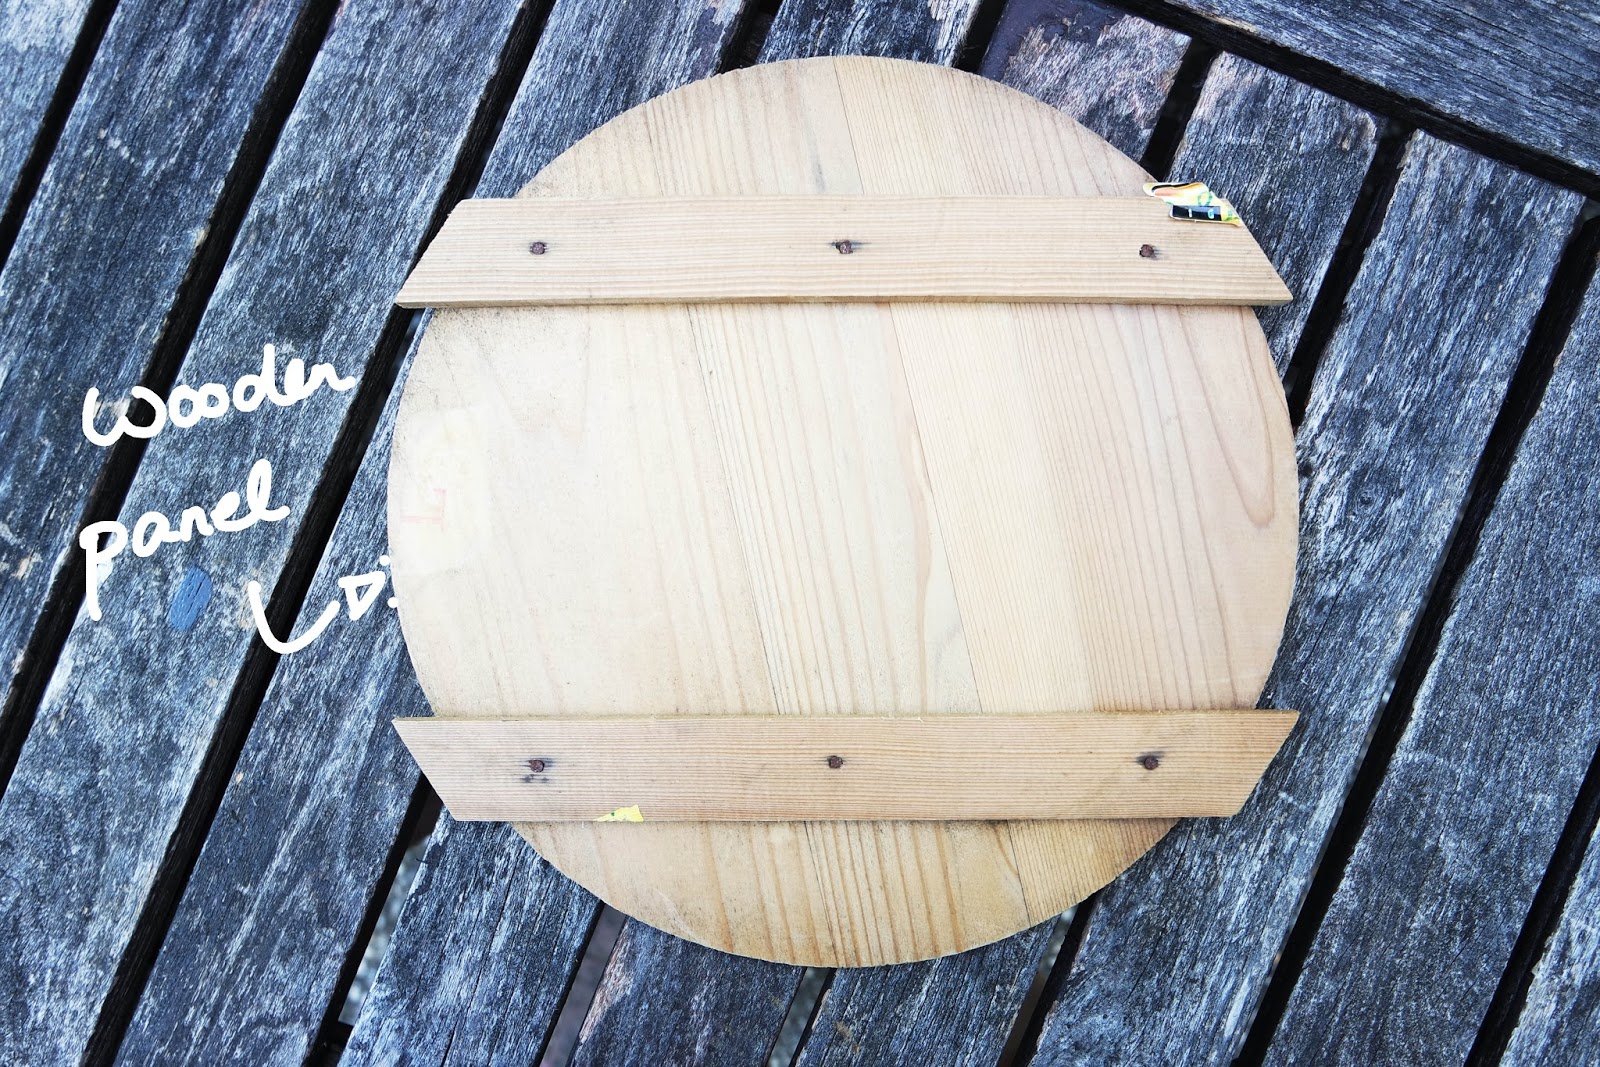
Luckily, I found a wooden panel in our basement. It's not too thick and the size was just right.
I sawed one side off - in a straight line. Then, I drew my design onto the wood.
Afterwards, I sawed around my sketch. It's okay to do this step roughly, because...
...you only have to smooth out the sides and edges with sandpaper.
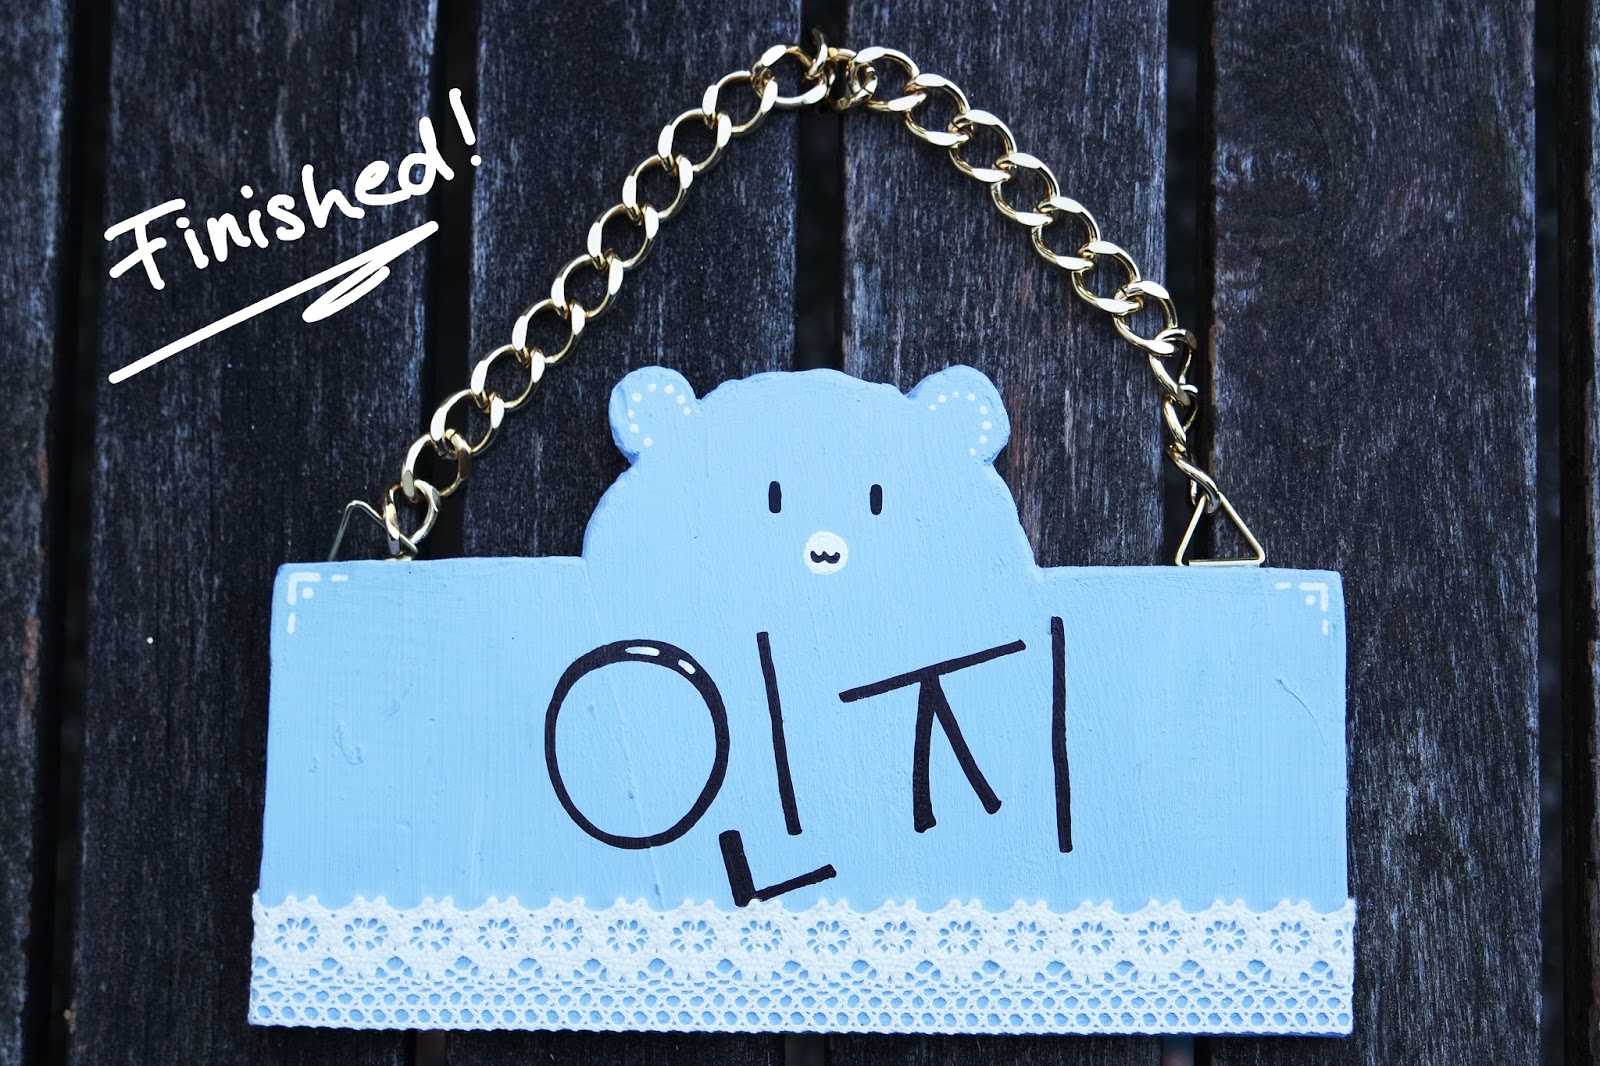
Painting time! (My color turned out to be baby blue)
OK, time to add some details for the face.
Now attach supporters and a chain on the back side.
Honestly, this was one of the most tiring projects I've ever done. I thought that my arm would fall off from all the sawing. Either way, it was worth all the trouble and I'm veeery happy with the end result! I decided to write my name in Korean, because it just looked better to me in the moment!


