Wednesday, August 05, 2015

Personalized Door Plate | DIY

 
Hey there!
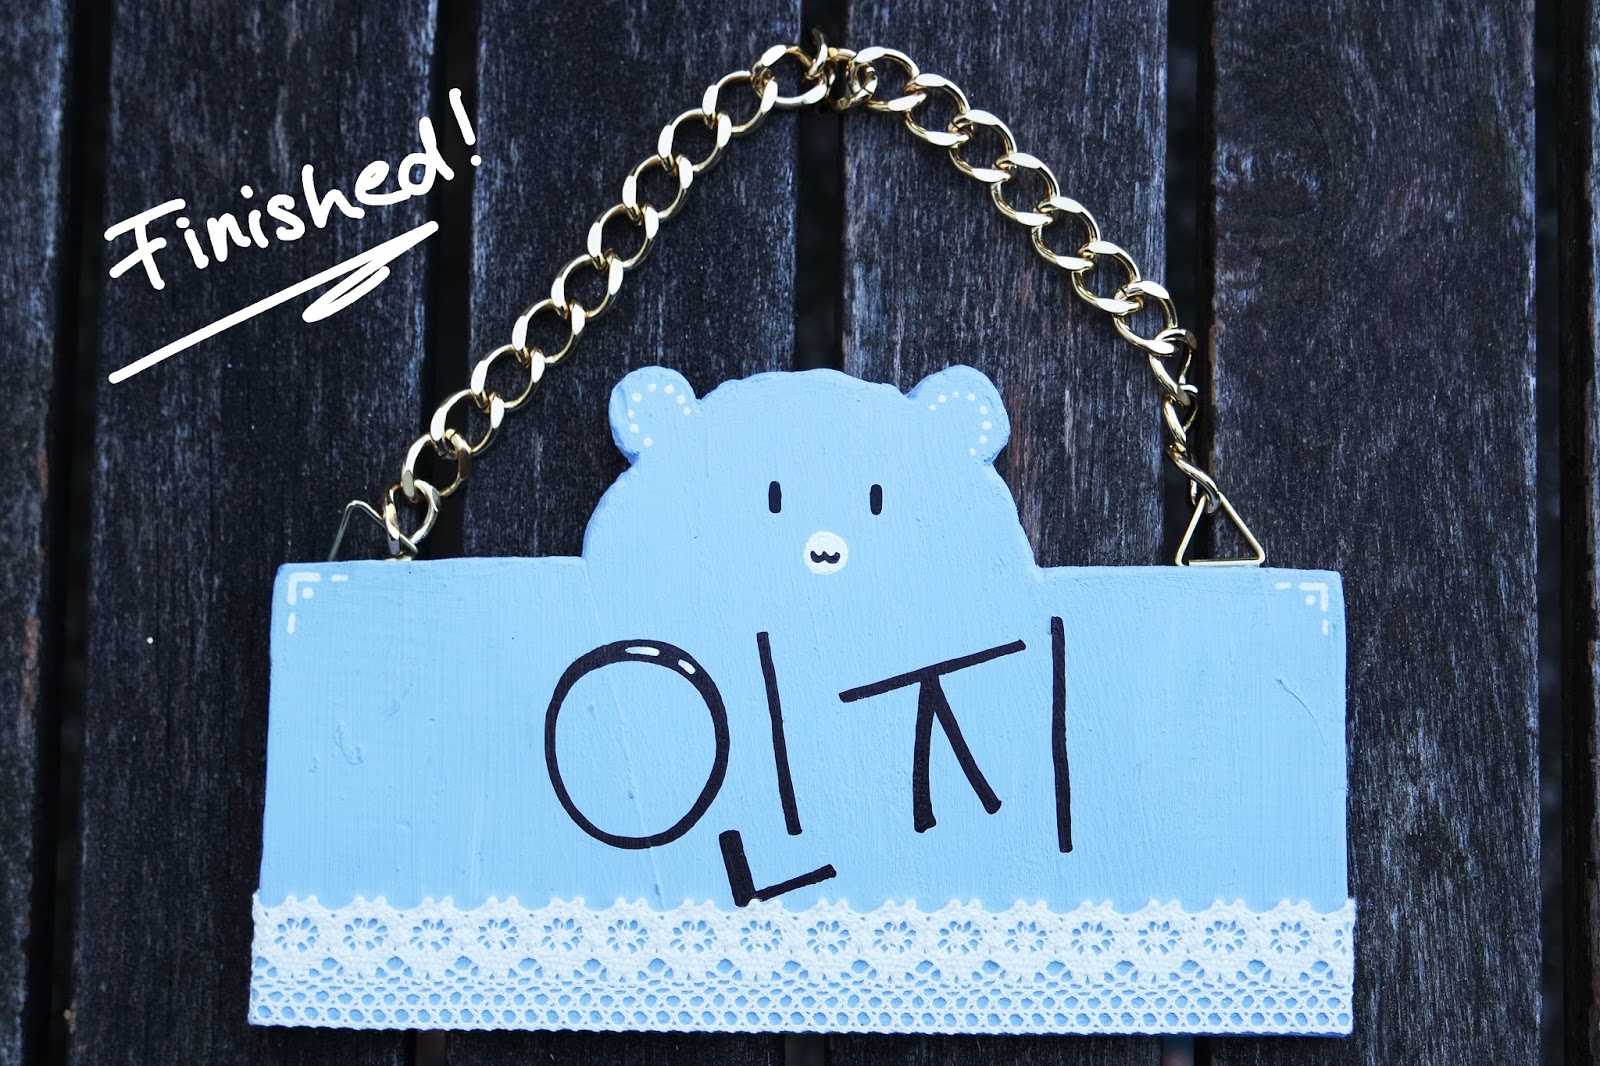
As I was flipping through a lifestyle magazine, my gaze was suddenly attracted to a door. It had a door plate! You may think 'OK, what's so cool about that?', but oh boy...I haven't seen a door plate since I was a child and almost none of my friends still have one. Door plates remind me of my childhood, when I - like every other child- wanted my name to be on everything I own. The door plate in the magazine looked so cute, I just had to make my own...:

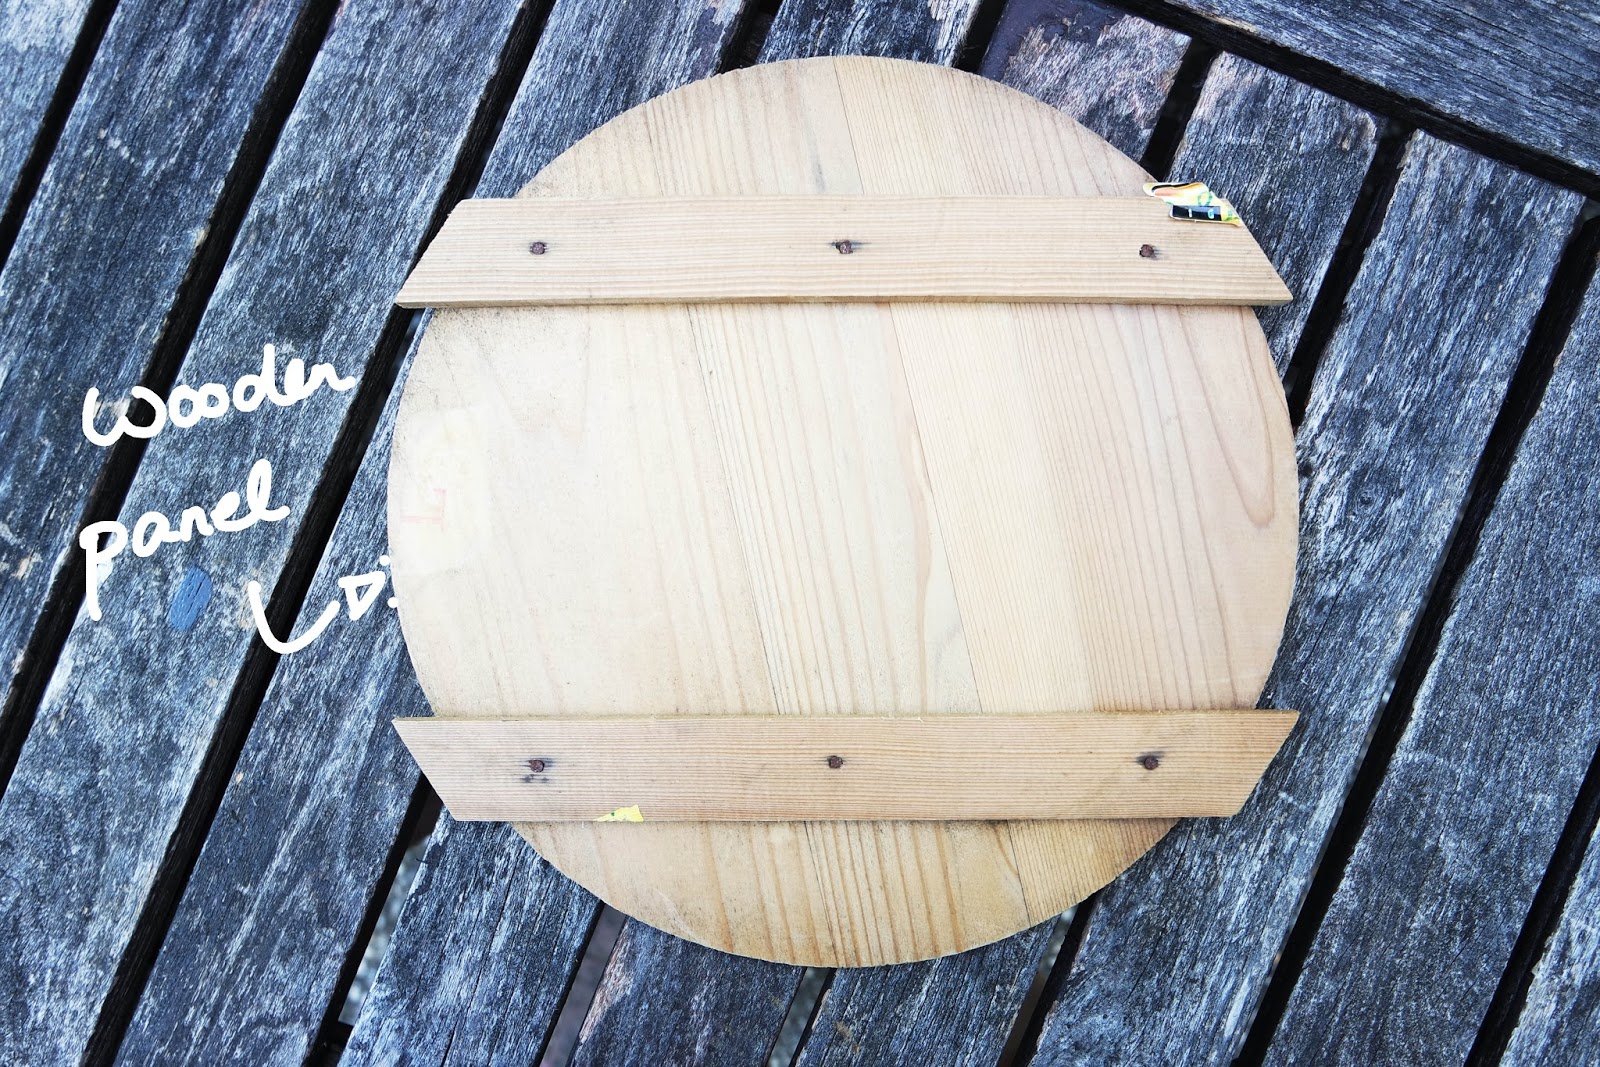
Luckily, I found a wooden panel in our basement. It's not too thick and the size was just right.
I sawed one side off - in a straight line. Then, I drew my design onto the wood.
Afterwards, I sawed around my sketch. It's okay to do this step roughly, because...
...you only have to smooth out the sides and edges with sandpaper.
Painting time! (My color turned out to be baby blue)
OK, time to add some details for the face.
Now attach supporters and a chain on the back side.

Honestly, this was one of the most tiring projects I've ever done. I thought that my arm would fall off from all the sawing. Either way, it was worth all the trouble and I'm veeery happy with the end result! I decided to write my name in Korean, because it just looked better to me in the moment!

Tuesday, July 14, 2015

DIY BEAUTY: Tinted Lip Balm


Hi there!
It has been such a long time since my last post...I think I had some kind of a 'blogger's block' and the hot weather here has also worn me out. I spent most of my time inside, escaping from the sun and any sort of exposure. Fortunately (or not), it has been getting colder again, also, my motivation is back and in full motion!
This time will be my first beauty related post ever! Lately, I've begun to grow some interest into the beauty world (especially Korean makeup) and I'm even obsessed over a few items. But...my money doesn't suffice to afford all those goodies and that's why I'll share with you a very quick and super easy -not messy- way to make your own tinted lip balm (tints are the craze right now!).
Read on!
 

What you need:  
-Vaseline
-spoon
-empty container
-toothpick
-tint (I've used a sample I got - it's the Etude House Fresh Cherry Tint in the color RD301)
-hair-dryer

Step-by-Step:
With the spoon, take a small amount of Vaseline and put it into the container.
Sprinkel a few drops of lip tint over the Vaseline.
Now take your hair-dryer and hold it over the container while stirring the Vaseline and the tint together with a toothpick. The Vaseline will start to melt and the tint will fuse with it.
After the two ingredients are blended together completely, let the mass cool down.
Ta-dah, it's ready to be worn on your lips!

I've also prepared a swatch for you on the back of my hand. As you can see, the formula is quite sheer, but appears to be glossy. The color is buildable and because of the Vaseline, it's really moisturizing for your lips, too. Whenever you want to add a hint of color on your lips without having to use a mirror, this handmade beauty product will be your go-to item.

Try this method with other tints and colors! I think that every household has some Vaseline at home, so whip this up in only 10 minutes and you're good to go! Hope you will have fun at making this~.

Tuesday, June 23, 2015

Swarovski Flower Drop Back Earring | DIY


Hey there!
In today's post, I will show you how to DIY these  earrings - sparkling at the front AND from the back as well. This type of earring became popular last year and has been hyped a lot (at least that's how I saw it). Last year, when I visited my family and my native country Korea, I've seen those earrings everywhere and I've also bought myself a pair. They were just different and something new. I really like the pair I have, but I wished that I would have more of them...So, I was thinking that it couldn't be that hard to craft them (and it's so so so easy!). Read on below to verify it yourself!

1. What you need: 2 headpins, a pair of earrings, 2 beads (I chose two swarovski flower pearls), jewelry pliers (not seen above)
2. Start by slipping the bead onto the headpin.
3. Take your jewelry pliers and bend the headpin upward. Leave a small space between the curve and the bead (for your ear).
4. Now, create a tiny loop at the end (you don't want your backside to be too long, so clip off the lenght of your headpin according to your preference).
5. All complete! Ready to wear?

Ta-dah! Brighten up your face and your day with this sparkling and cute earring! ~Shine brighter  than a diamond...~
 
And? Easy, right? I always feel so satisfied and happy when I craft something - do you also know this feeling?

Friday, May 22, 2015

A New Creative Tool: My Wacom Tablet

Hey guys!
I know, I know...it's been AGES since I've last posted something...Sorry! School worns me out a lot and I just couldn't find the time to write anything, but I'm back again! Today I want to present you my new creative tool and it's the Wacom Intuos Creative Pen and Touch Tablet!  I'm so happy because I wanted to have a graphic tablet for a really long time now (since december actually!).
Firstly, I have to say that I'm a complete beginner at this and I've never touched a graphic tablet before...even so, I'm excited to explore a new tool!
First of all the packaging:
I find it very appealing! When I went into the store and saw all these little doodles and sketches on it, I immediately fell in love with it and I just knew that this tablet would be right for me.
I've got the smaller version because I don't need a big and professional one since I'm still a beginner at this. The size is about 210x178x10mm which is around 2/3 of an A4 paper. The blue rubber band on the pen and the blue fabric tag can be switched with a black version, but I like it as it is.
When you install your tablet onto your PC and open it in Adobe Illustrator (for example), you can actually decide how sensitive you want the tip of your pen to be. In my opinion, the tip glides on smoothly over the surface and the pen fits nicely into my hand.
Overall, I think that this tablet is very user-friendly for beginners. Of course, if you have trained your skill and have some basic photoshop knowledge, I think that you could even create/illustrate on a high level with this one. Since it's small, it would be easy to carry around and you don't have to move your hand as much.
Here are my first little (tiny!) doodles with it:


(I have uploaded these pictures on my instagram account already^^)

I'm still in the middle of practising my skills and I mostly use my tablet for small doodles, but I will try to learn new methods to improve my style. So please stay tuned and look forward to see little doodles in my upcoming blogposts because I will definitely integrate them, too!
Learning a new skill might be hard and it will probably take a long time, but it's important to never give up. It's like this: No one is born with the skill to master everything right from the start, so cheer up, get up and practise it!

Do you have something you have always wanted to try and master? Any new techniques you want to control? Or are you like me right now and you are also a beginner at this? Comment down below!